
This guide will show you about Configuring a Whitelist for your Soulmask Server
Looking to rent a Soulmask server? Click here to order your server now!
Configuring a whitelist on your Soulmask server is one of the most effective ways to control who can join your world and ensure a safe, stable environment for your community. By enabling a server whitelist, you decide exactly which players are allowed to connect, preventing unwanted access and keeping gameplay focused on the group you trust. This guide walks you through the setup process, explains how whitelist entries work, and helps you manage player access with confidence, whether you're running a small private server or a larger community hub.
Enabling Whitelist Access on Soulmask Servers
1. Log in to your Game Control Panel.
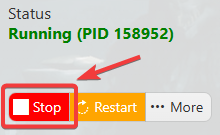
2. Before making any modifications, stop the server from running by clicking the Stop button.
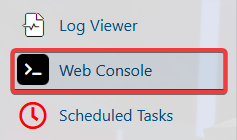
3. Navigate to the Web Console section.
4. Enter the following command:
Set_ServerPermissionEnable 0 1
5. To add players to the list, use the command
usp 0 1 [SteamID1],[SteamID2].
Learn how to find a player's SteamID here.
6. Run the following command
usp 0 0 [SteamID1],[SteamID2] t
To remove the listed Steam IDs from your server’s allowed‑player list.
7. Run the following command
Set_ServerPermissionEnable 0 0
To allow all players to join without restrictions.
Did the above information not work for you?
Please click here to contact our support via a ticket.
