
This guide will show you how to use the Save Transfer tool for your Soulmask server.
This tool is intended to transfer your save from the main map on your PC to the DLC map.
Click here to order your Soulmask server with Citadel Servers today!
1. Log in to your Game Control Panel.
Stop your server first.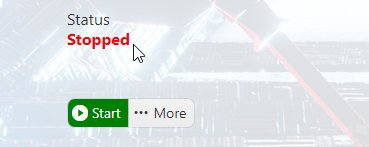
2. On your PC, navigate to this destination:
"x\steamapps\common\Soulmask\WS\Plugins\DBAgent\ThirdParty\Binaries"
x being the drive and location you installed Soulmask and Steam on.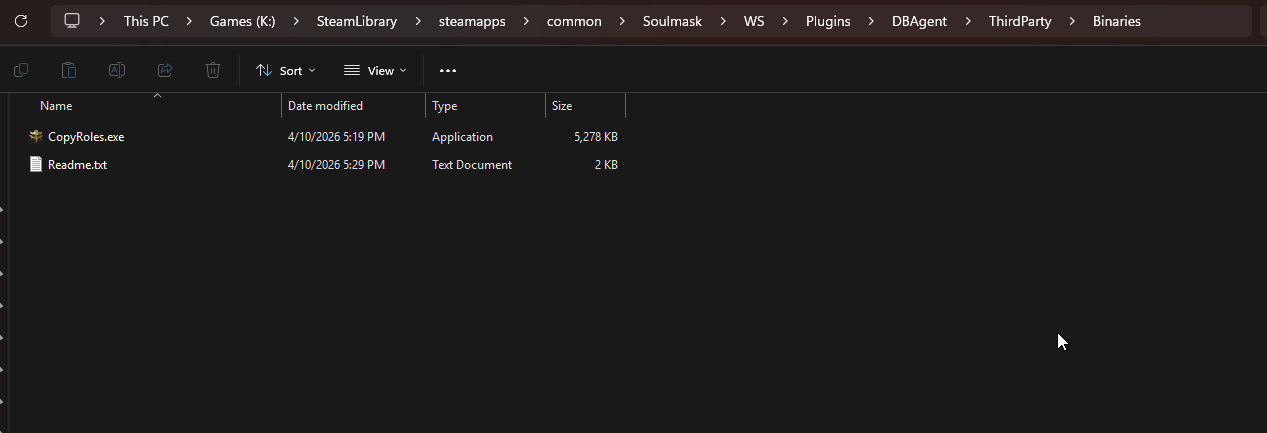
3. In the readme.txt in the folder, there are instructions and commands for the command prompt.
Read the file and select which one you want to use. Copy the command beside the number for it.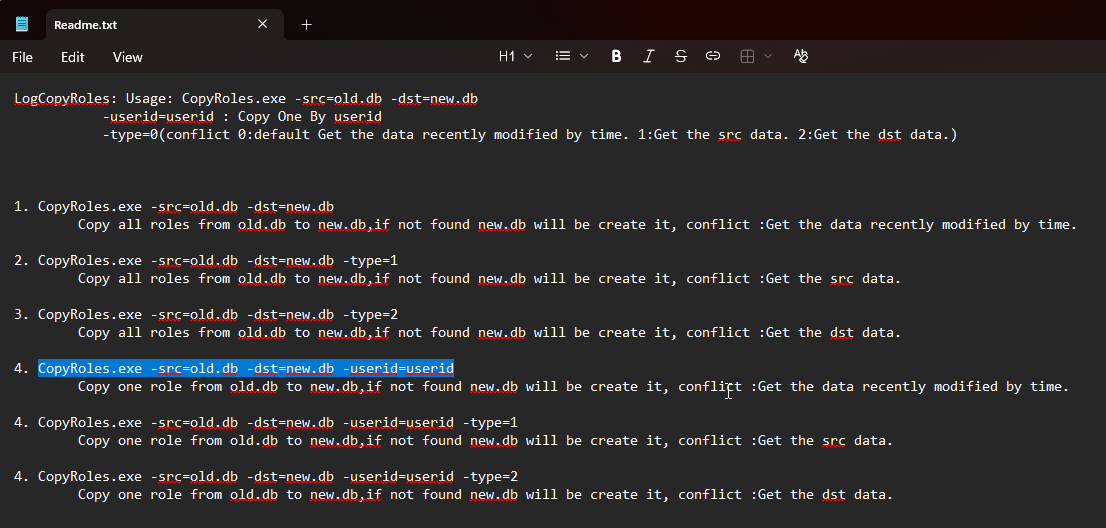
4. Now, open the command prompt on your PC. To easily open CMD(command prompt) directly into this directory.
Click the address bar above or use "Alt+D", then type in "cmd" and press Enter on your keyboard.
5. Paste the command you copied from step 3, and press enter.
The console will then show progress and provide additional instructions based on your choice.
Follow the instructions in the console to get your save files.
6. Once you have your save files converted for the new map.
Follow our guides below to continue using your local save on your server with us on the DLC map.
How to Upload Your Save File
How to Switch to the DLC Map
Did the above information not work for you?
Please click here to contact our support via a ticket.
